Building DIY FDM Puzzles
Forward: the necessity of introducing FDM version is like, instead of having all tools at hand, it would rather be built upon request.
This post is about building up fully functional DIY FDM puzzles from official package. To be honest, it is very hard.
The core skills are: hands on experience with any DIY kit we sold with ball core, and FDM printer. If you’re lacking any one of these, it will be even harder to finish.

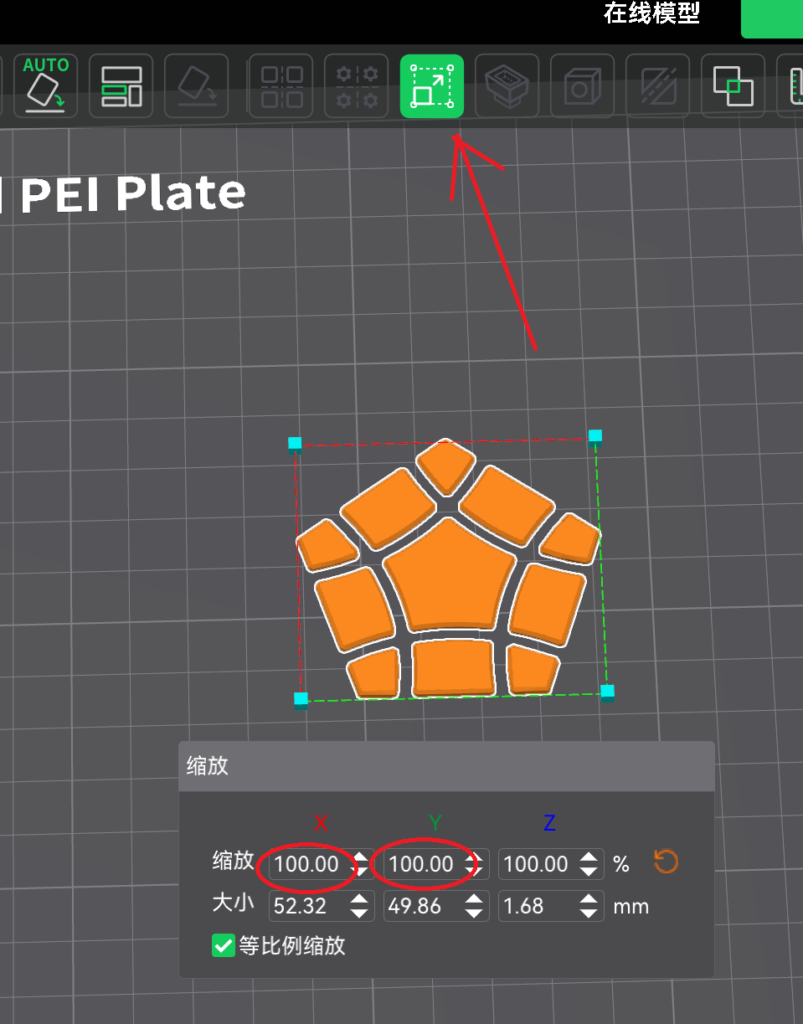
Step 1: Print a set of sample parts using STL file downloaded after purchase. AUTO orient the whole file before breaking it into parts. Then they are all correctly oriented. In this step you will confirm two things. The first is whether the tiles are too tight. If yes, zoom till it fits. Normally though, it is tight and safe as we tested. Second, shape of parts. Are they smooth without irregular bumps or defects? You might want to look into ways to hide seams, as well as how to get a nice bottom layer etc. After this step, you know what to expect when going into production stage.
Step 2: Refer to corresponding instruction manual (usually there’s a corresponding spherical DIY version that comes with a manual) and get an impression on how to put things together. Normally you can start off by printing center bases in the first place so that you can put the core together before external parts are printed.
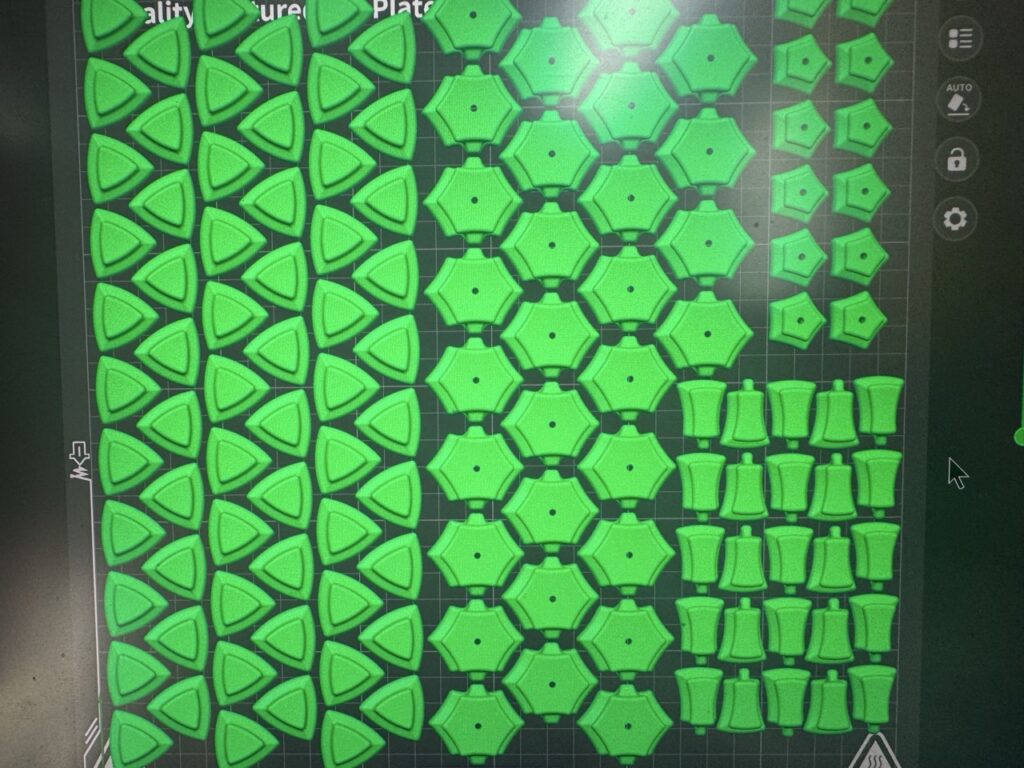
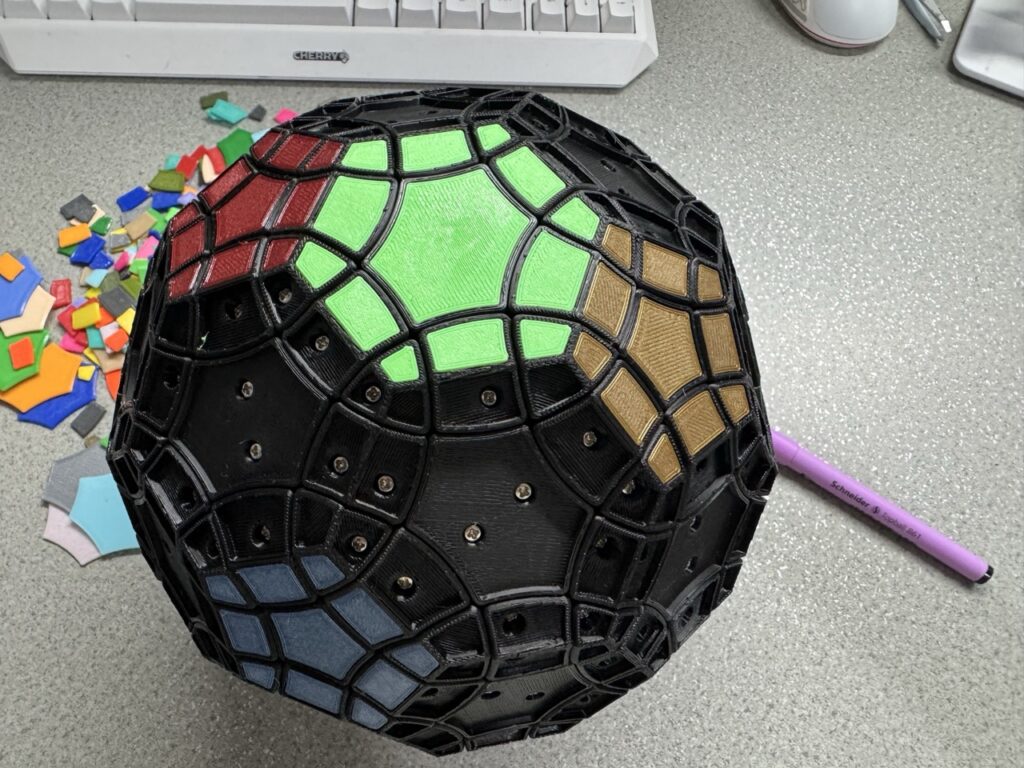
Step 3: Start printing parts for inner layers in quantities according to instruction.png. Note that the color of inner layer is not visible from outside, you can use whatever color left. Then print parts for external layer. In this layer, you will decide a consistent visible body color.
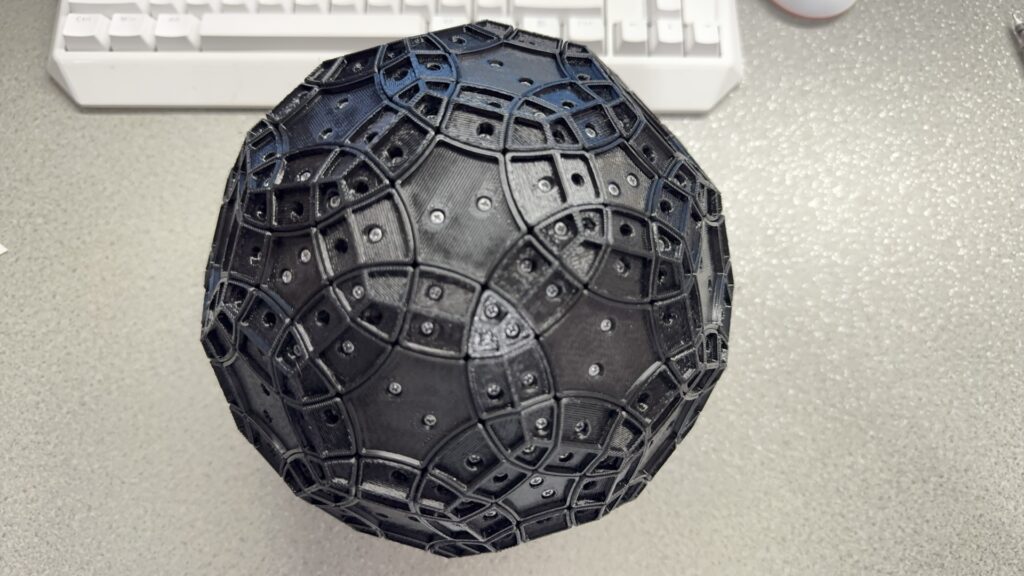
Step 4: As soon as all center bases are finished, you can start putting the core together. Then the inner layer. With FDM version, there’s a unified standard for the tightness of screws: allow the center base a 2 to 4mm radial space. That is, when you pull the center base outward to the maximum, there should be a 2-4mm gap between center base and the core. Do not tighten screws too much. Note that screws with bigger head is used in core.
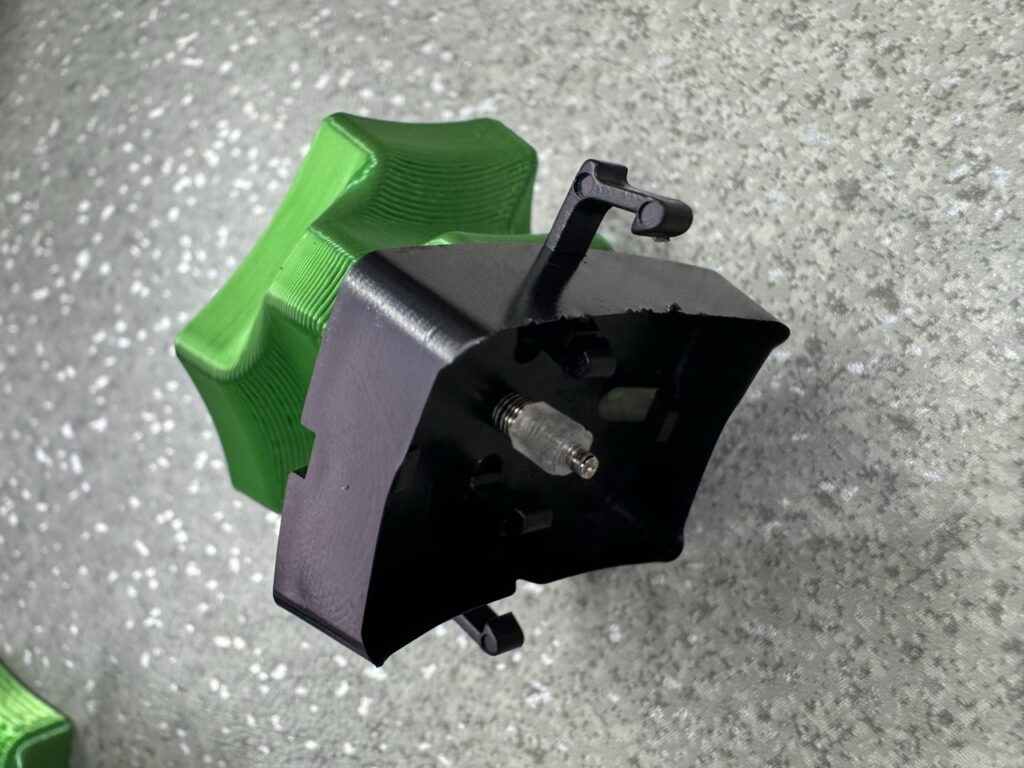

Step 5: Put external layer on using screws (smaller head screws).
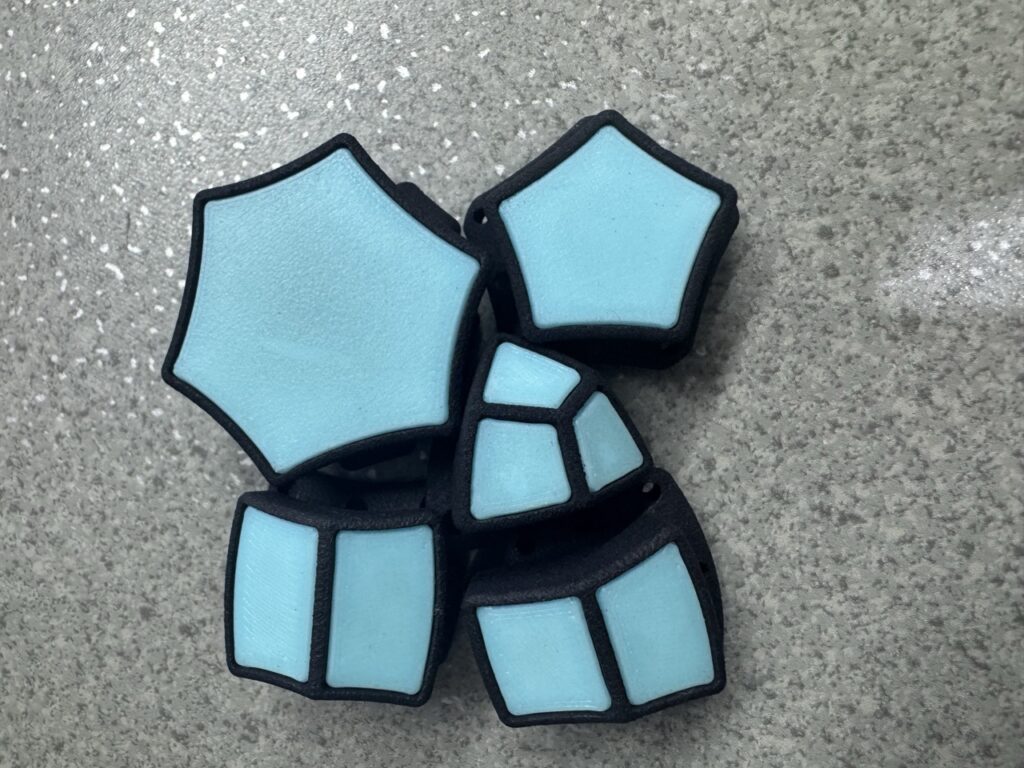
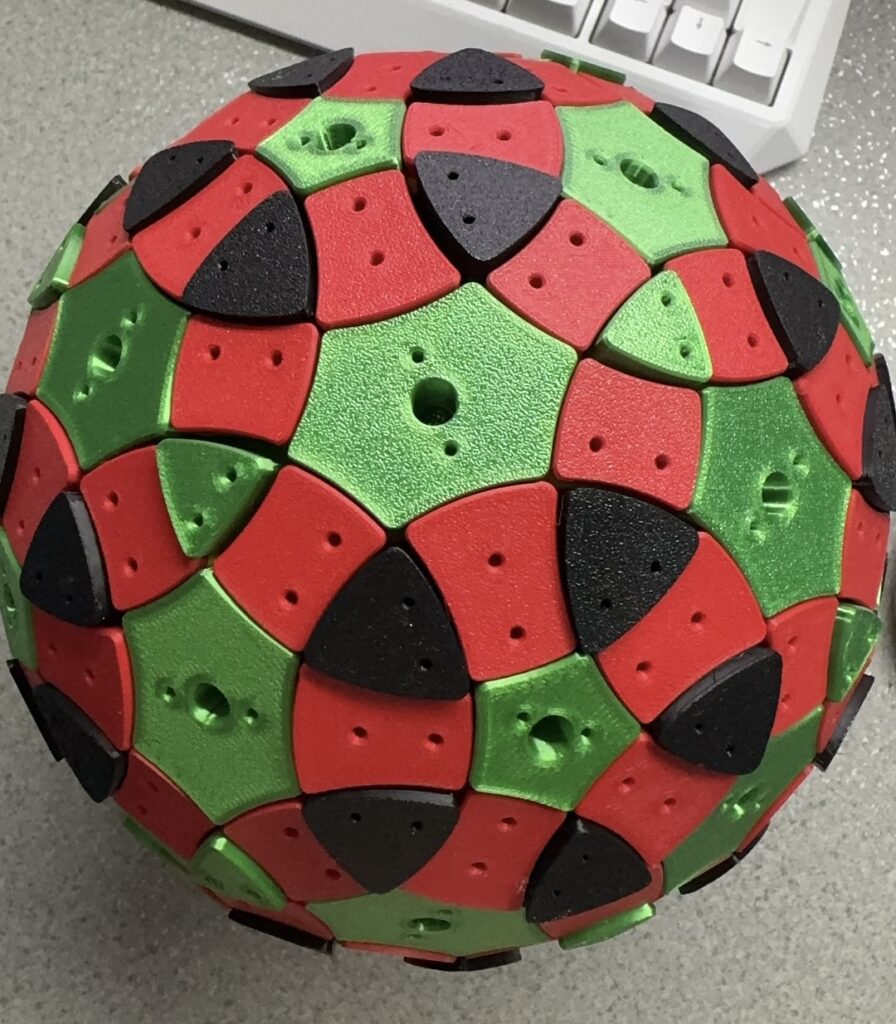
Step 6: Print color tiles and put them on. If you are using stickers, you can print all tiles in one color, preferably the same color as external layer. In whichever case, the tiles are placed such that the side that touches the building plate is facing outward.
Step 7: [only when you are using sticker instead of color tiles] Cut sticker using the sticker file (pdf file) then apply stickers. If you are in this step, you’ll find that correct orientation of tiles is crucial. Otherwise they won’t adhere at all.
That’s a LOT of work. Time to enjoy!